- Published on
Metamask Installation Guide for Concero Public Testnet
- Authors

- Name
- phuchoangle
- @phuchoanglevn
Introduction
MetaMask is the leading non-custodial wallet for Ethereum and numerous other EVM-compatible blockchain networks. This browser extension lets you easily manage your crypto assets and interact with decentralised applications.
If you are new to the blockchain world, we recommend you to use Metamask as it is the most user-friendly wallet for beginners. For the best user experience, we recommend you to use Chrome, Edge or Brave browser for Metamask installation.
How to Install Metamask?
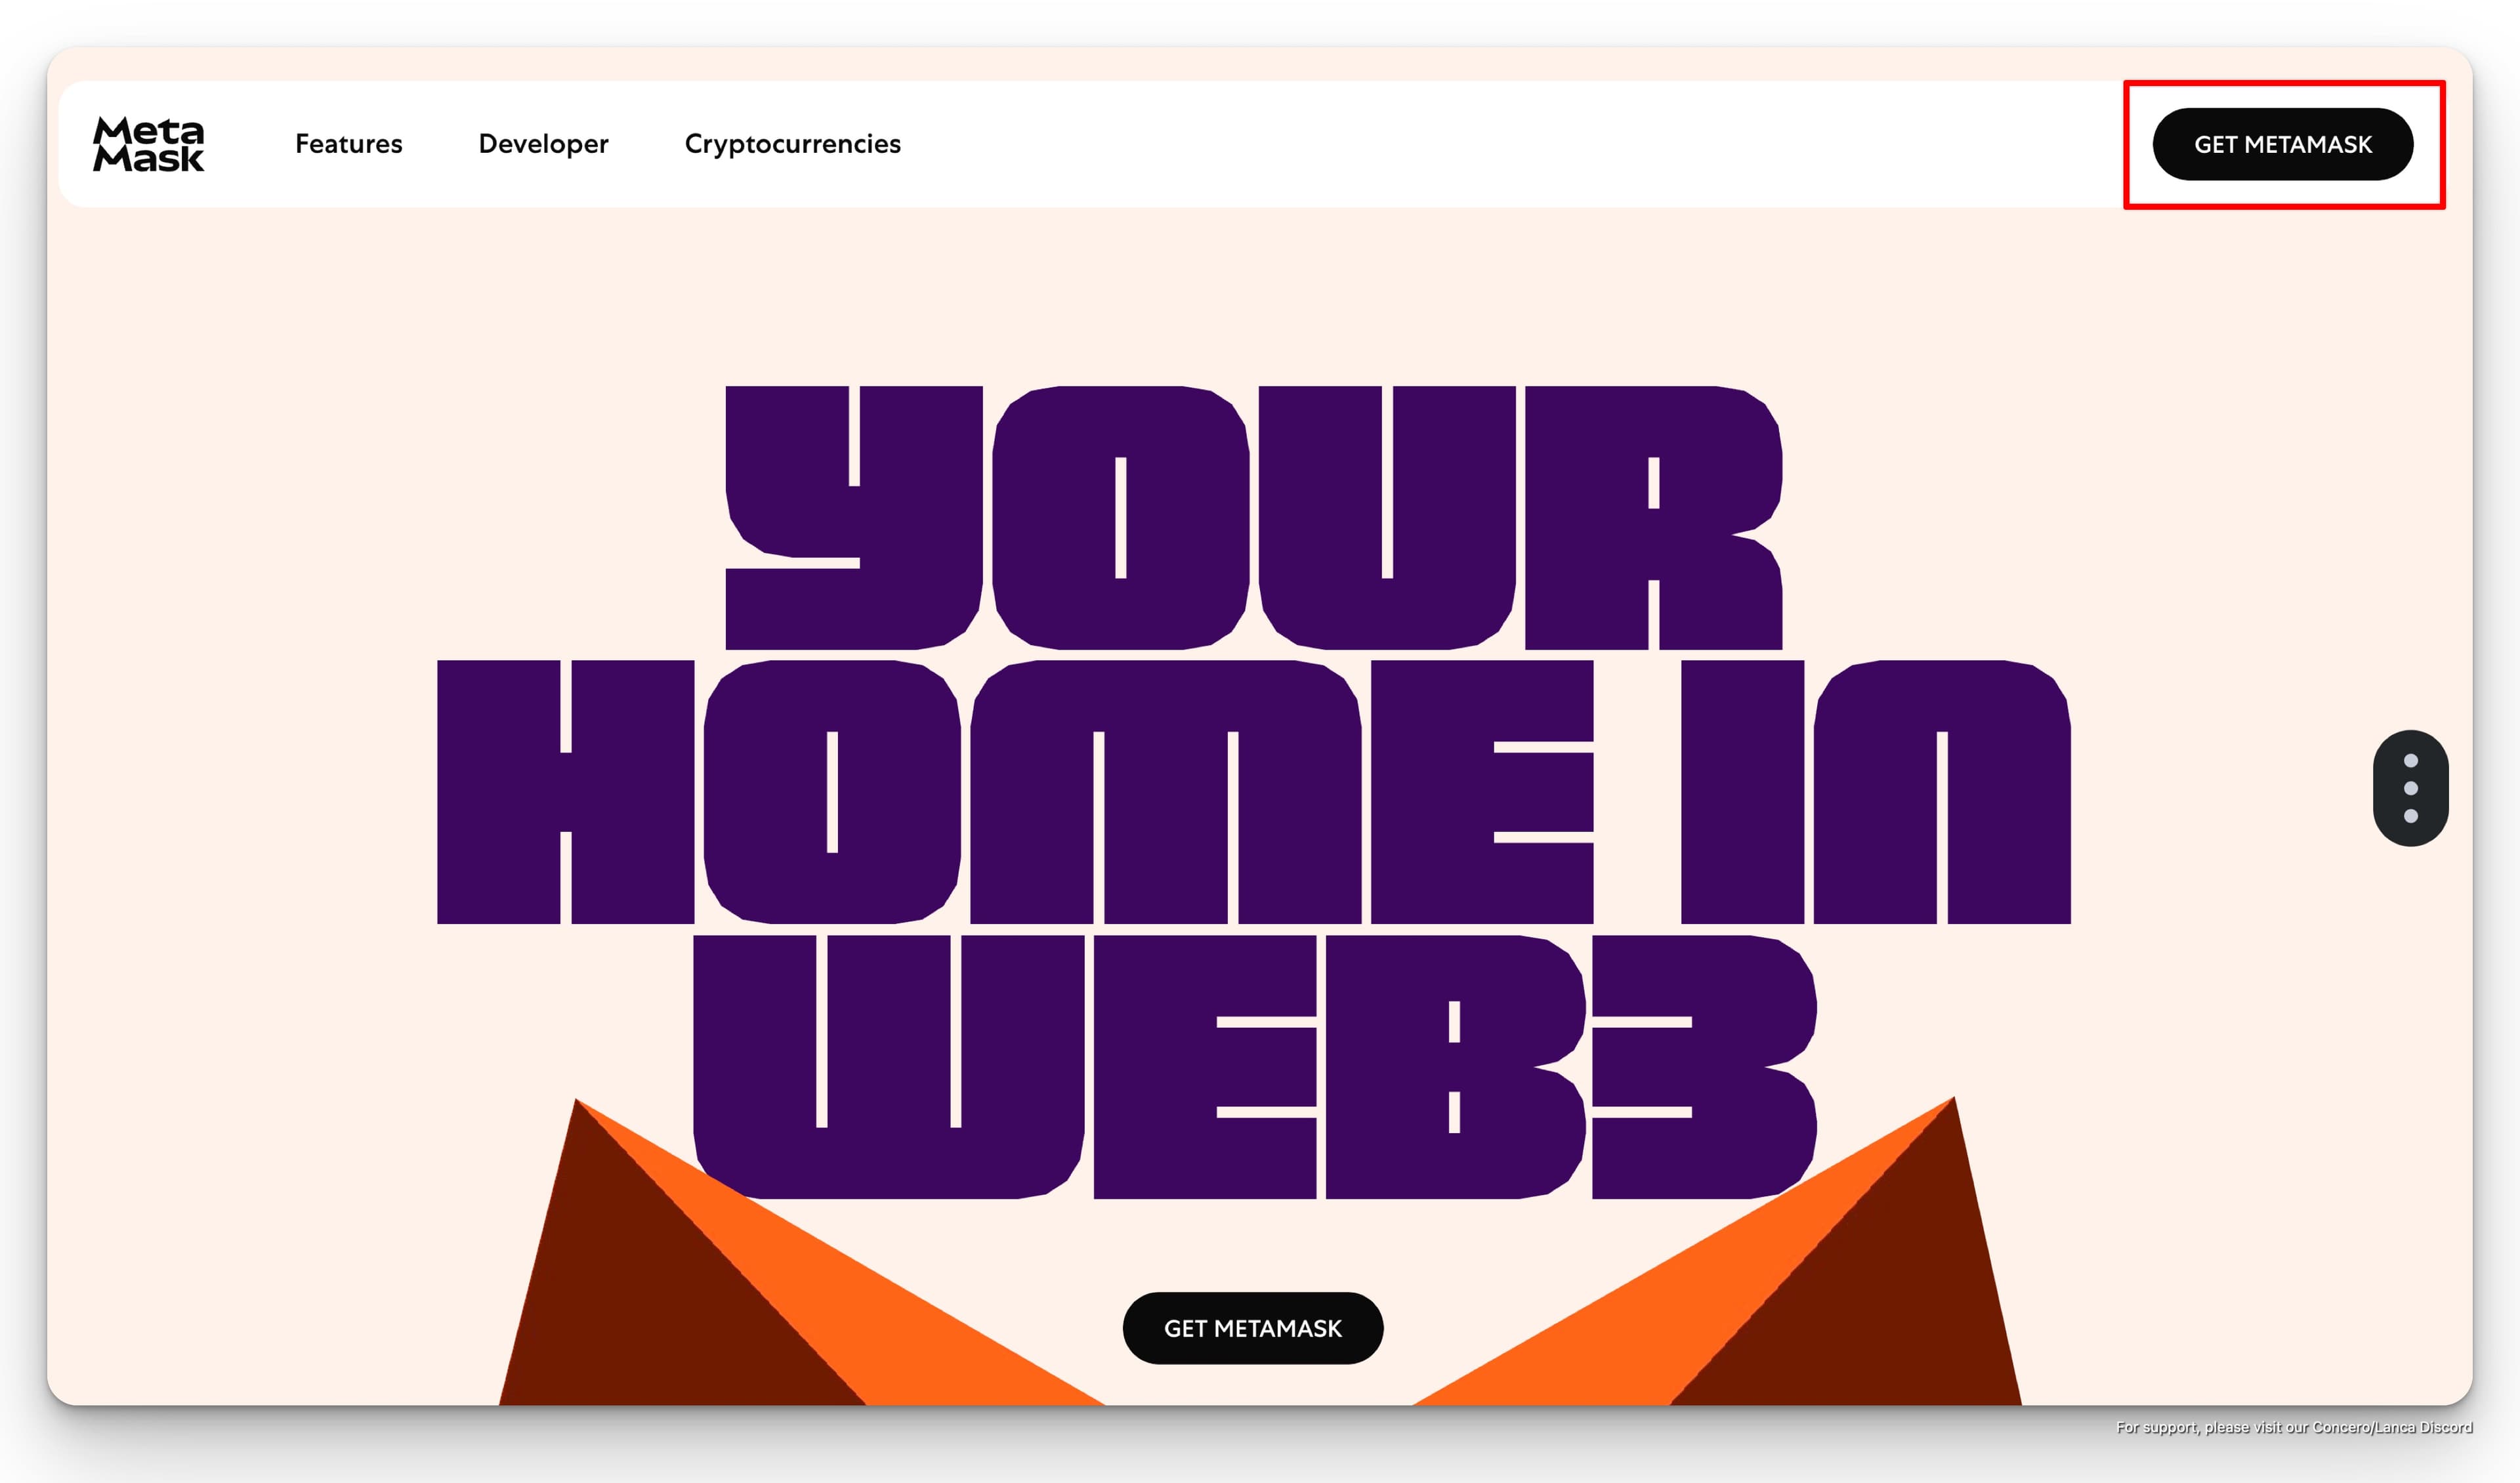
1. Get Metamask extension for your browser.
Head to Metamask website and click on "Get Metamask" button. It will redirect you to the Chrome Web Store.
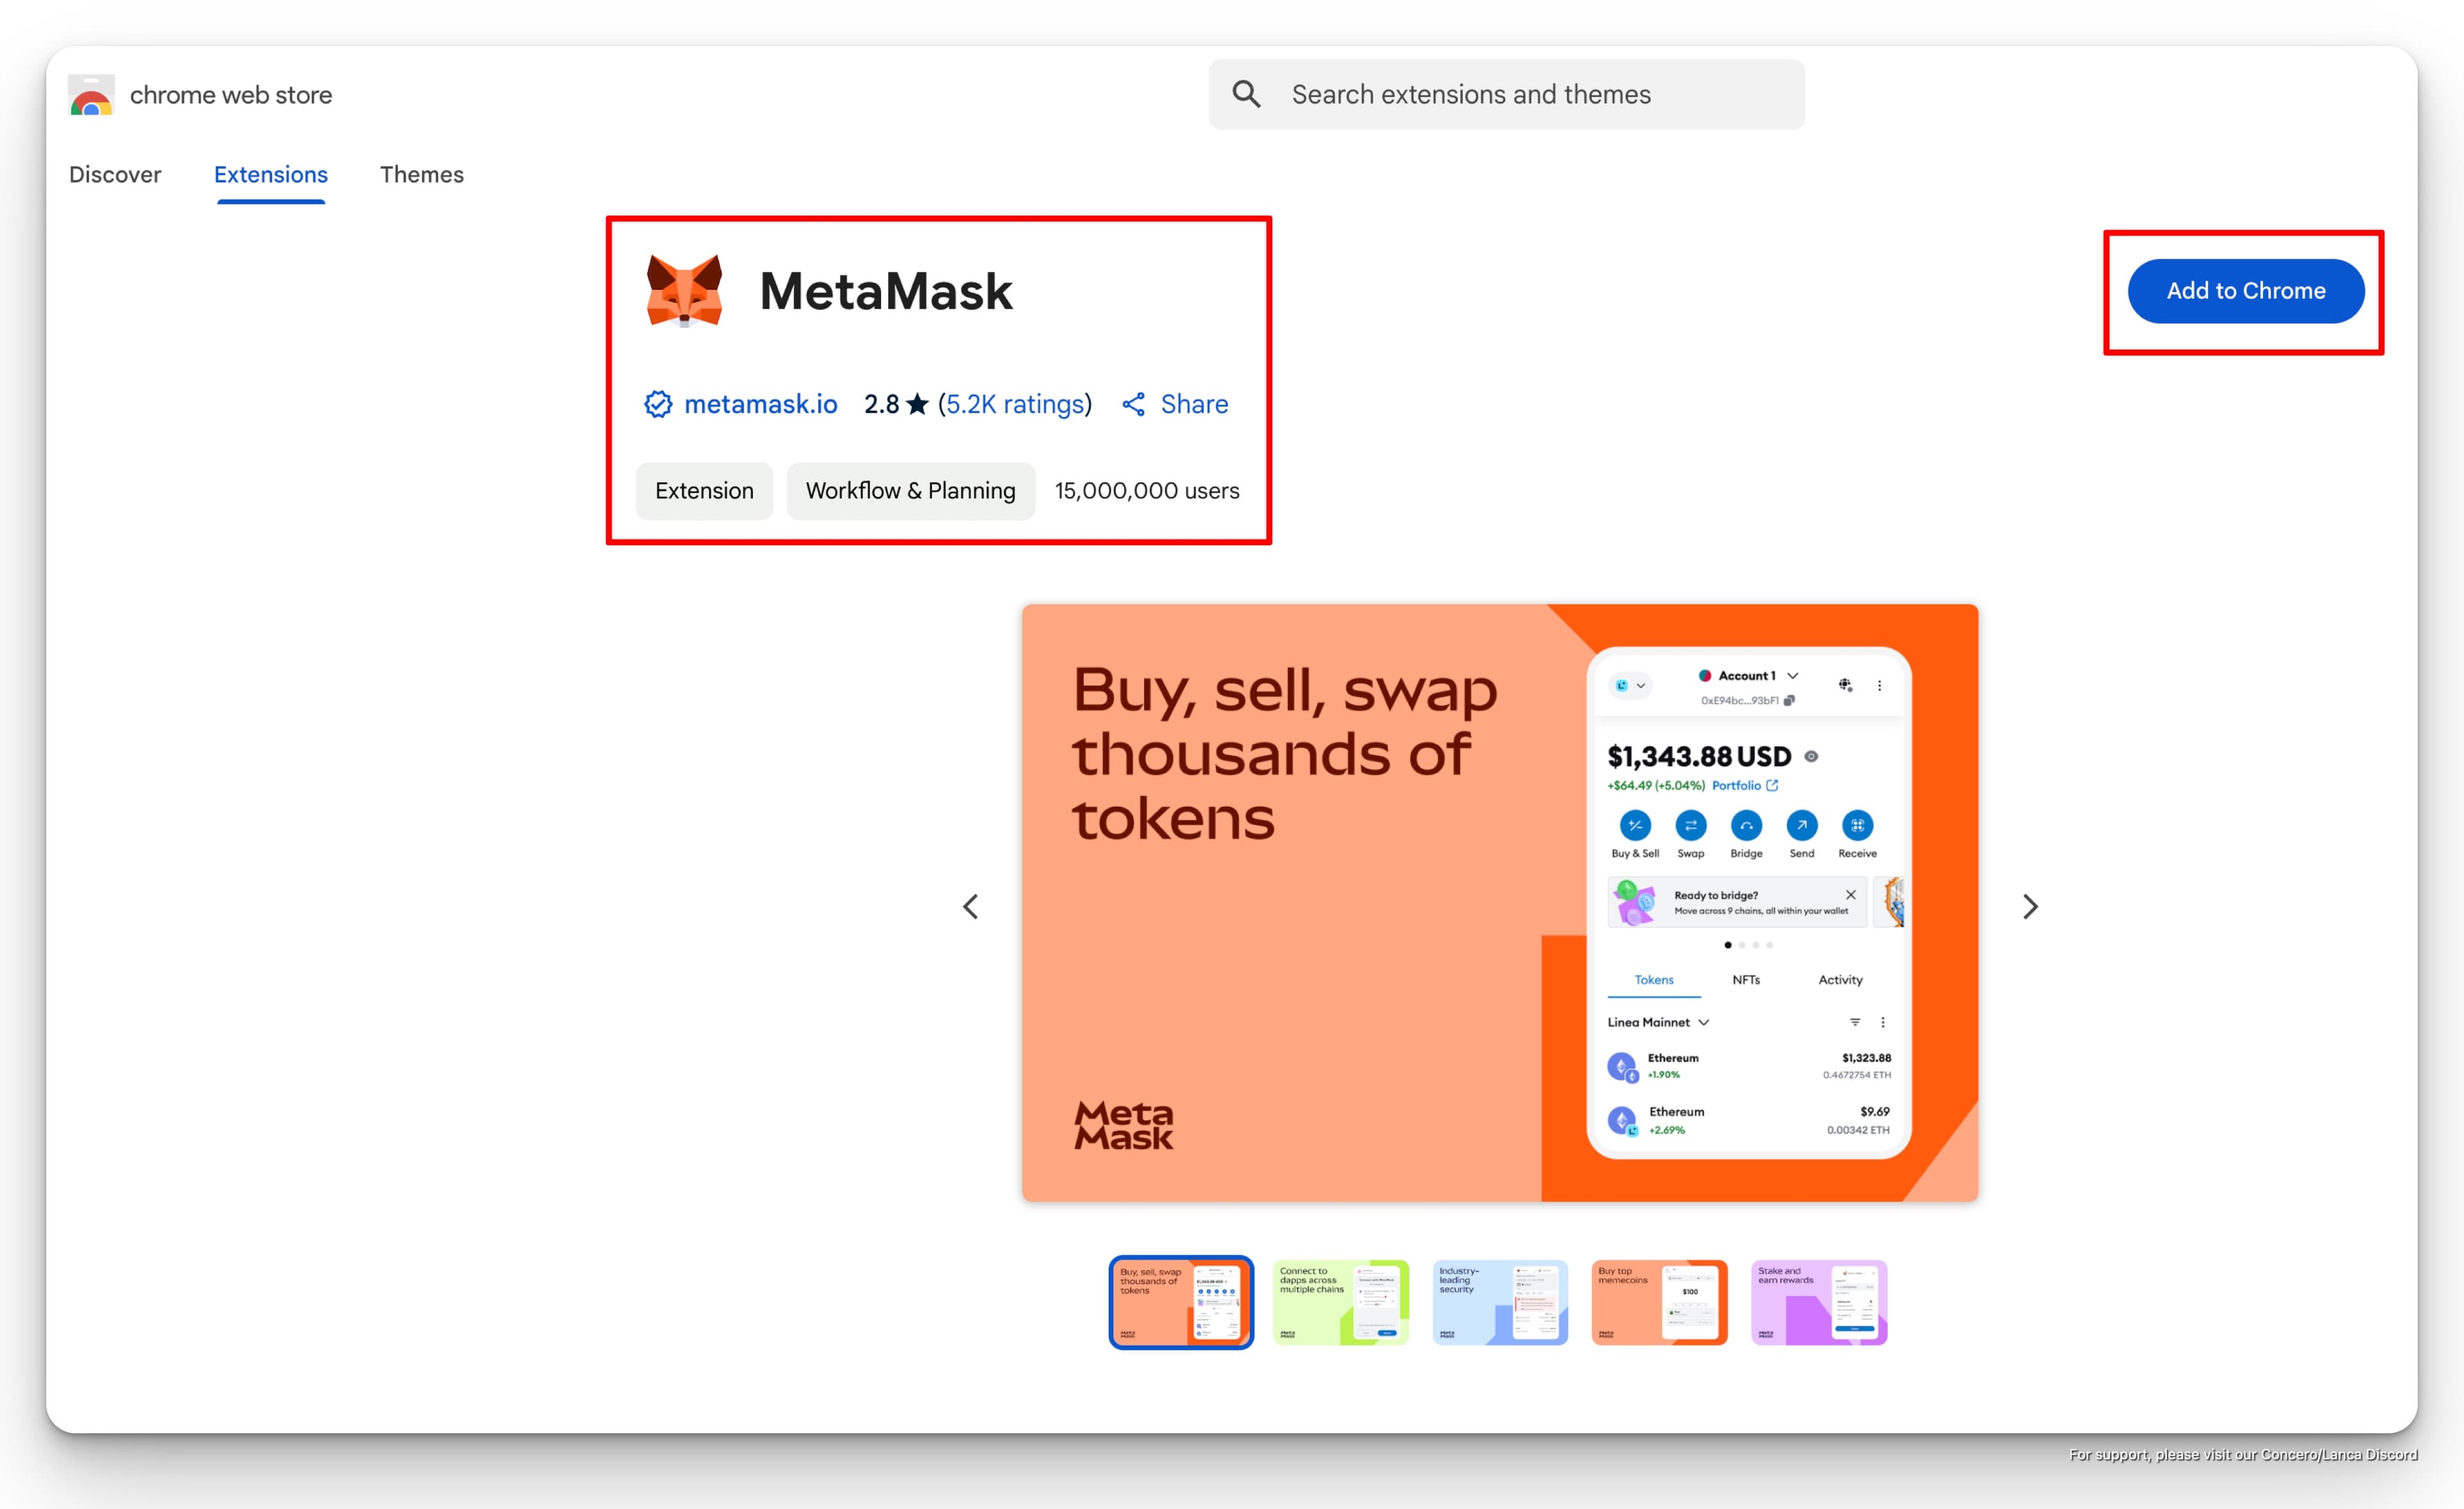
2. Install Metamask to your browser.
Make sure you can see the information as below, with the verified badge next to Metamask.io, with +15,000,000 downloads. Then, click on "Add to Chrome" button.
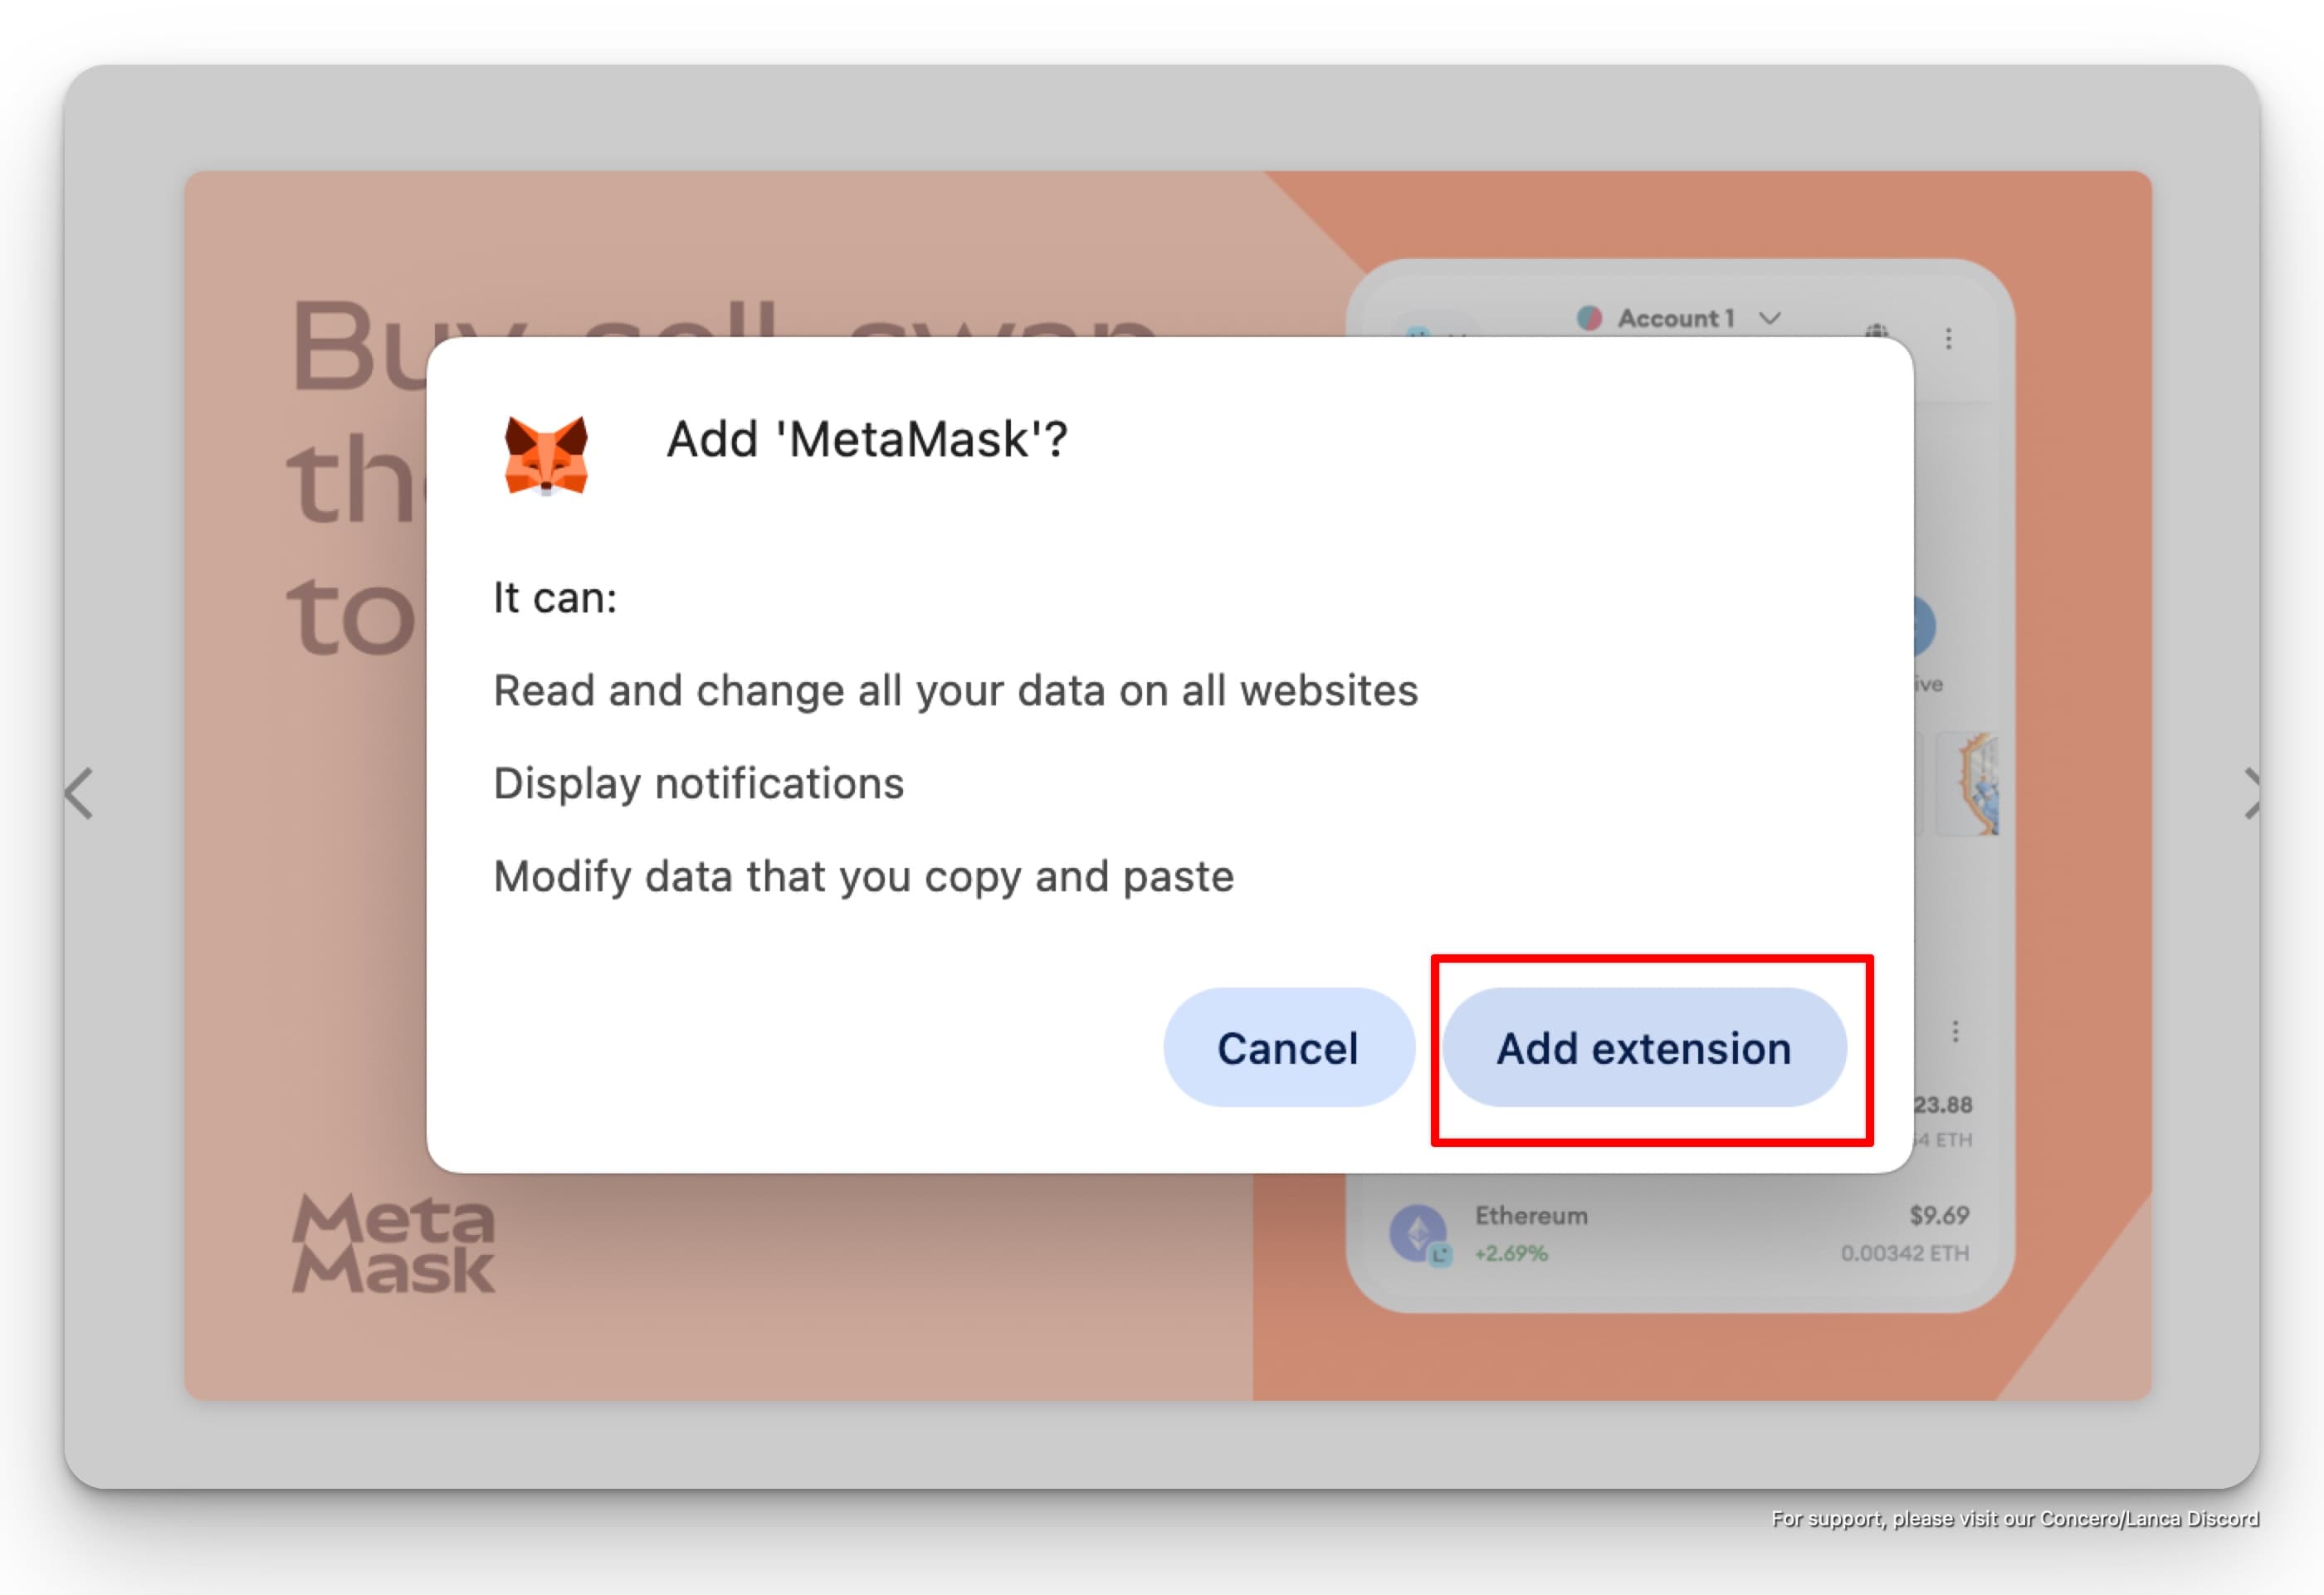
Click on "Add extension", to install Metamask to your browser.
3. Set up your wallet.
After installation, a webpage will be opened to create a new wallet. Click on "Create a new wallet" button. If you don't see the webpage, click on the Metmask icon on the top right corner of your browser. Then, you will be instructed to create a new wallet.
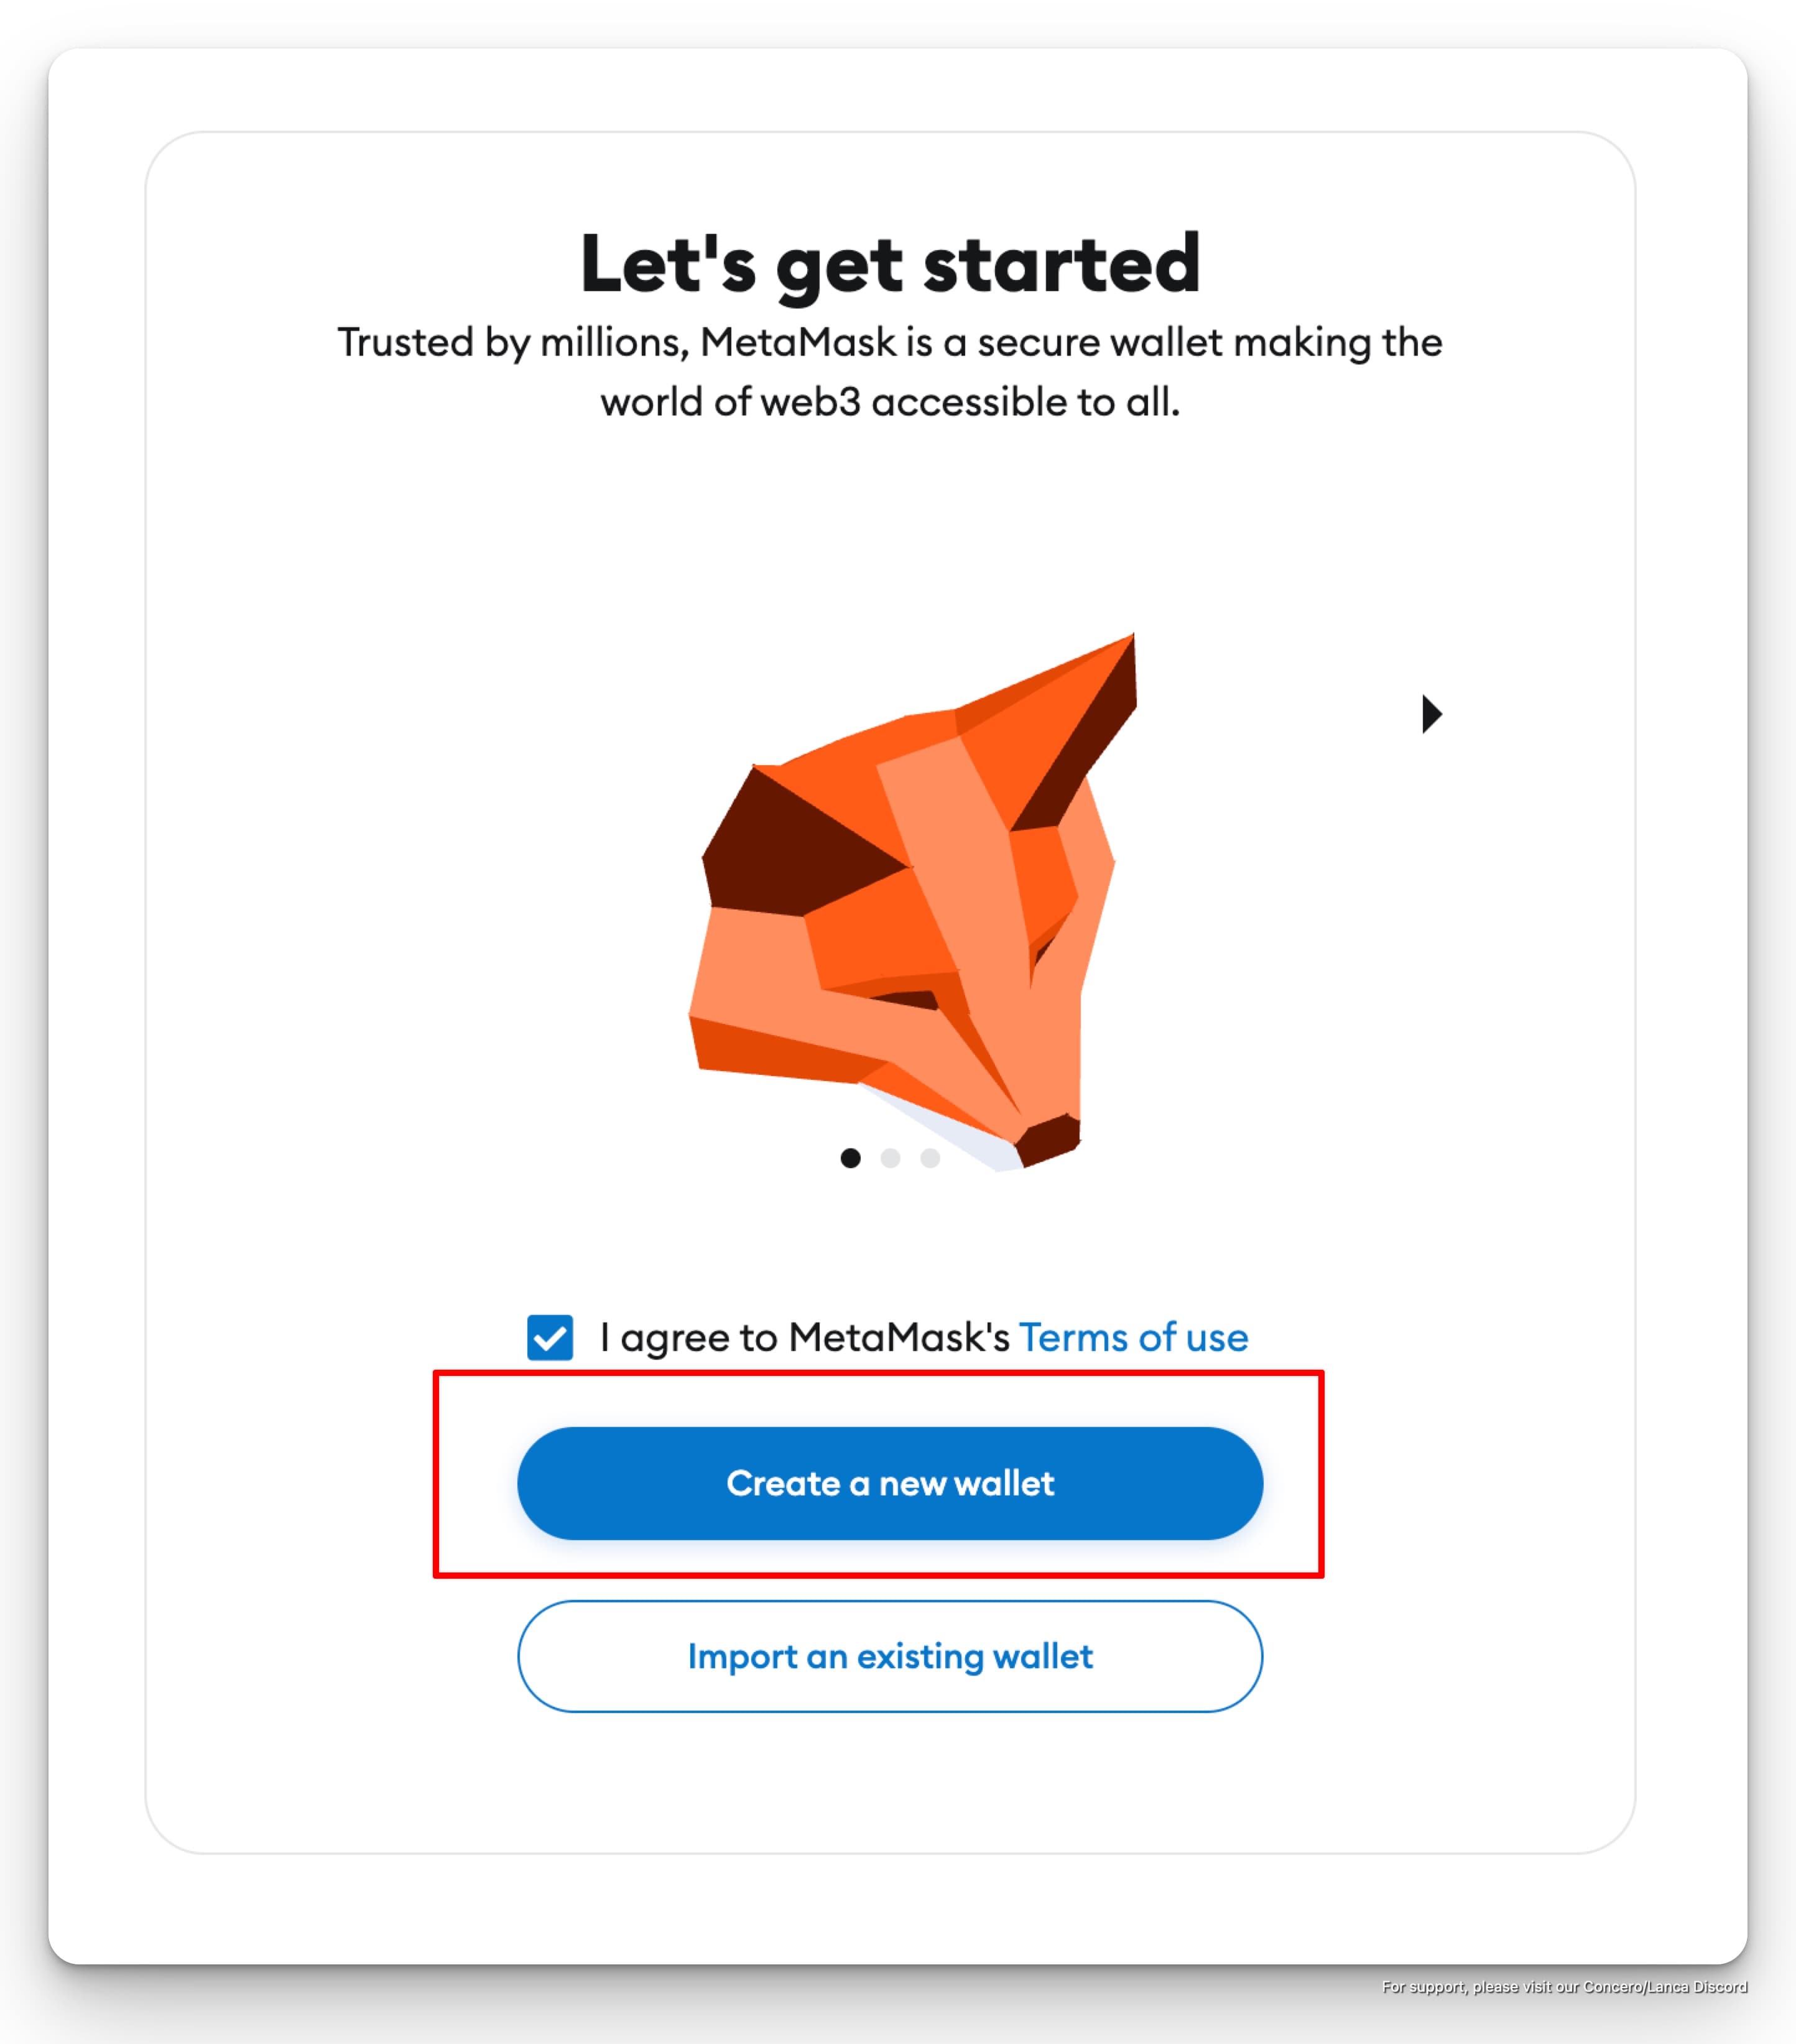
Click on "Create a new wallet" button to create a new wallet. Otherwise, your can import your existing wallet.
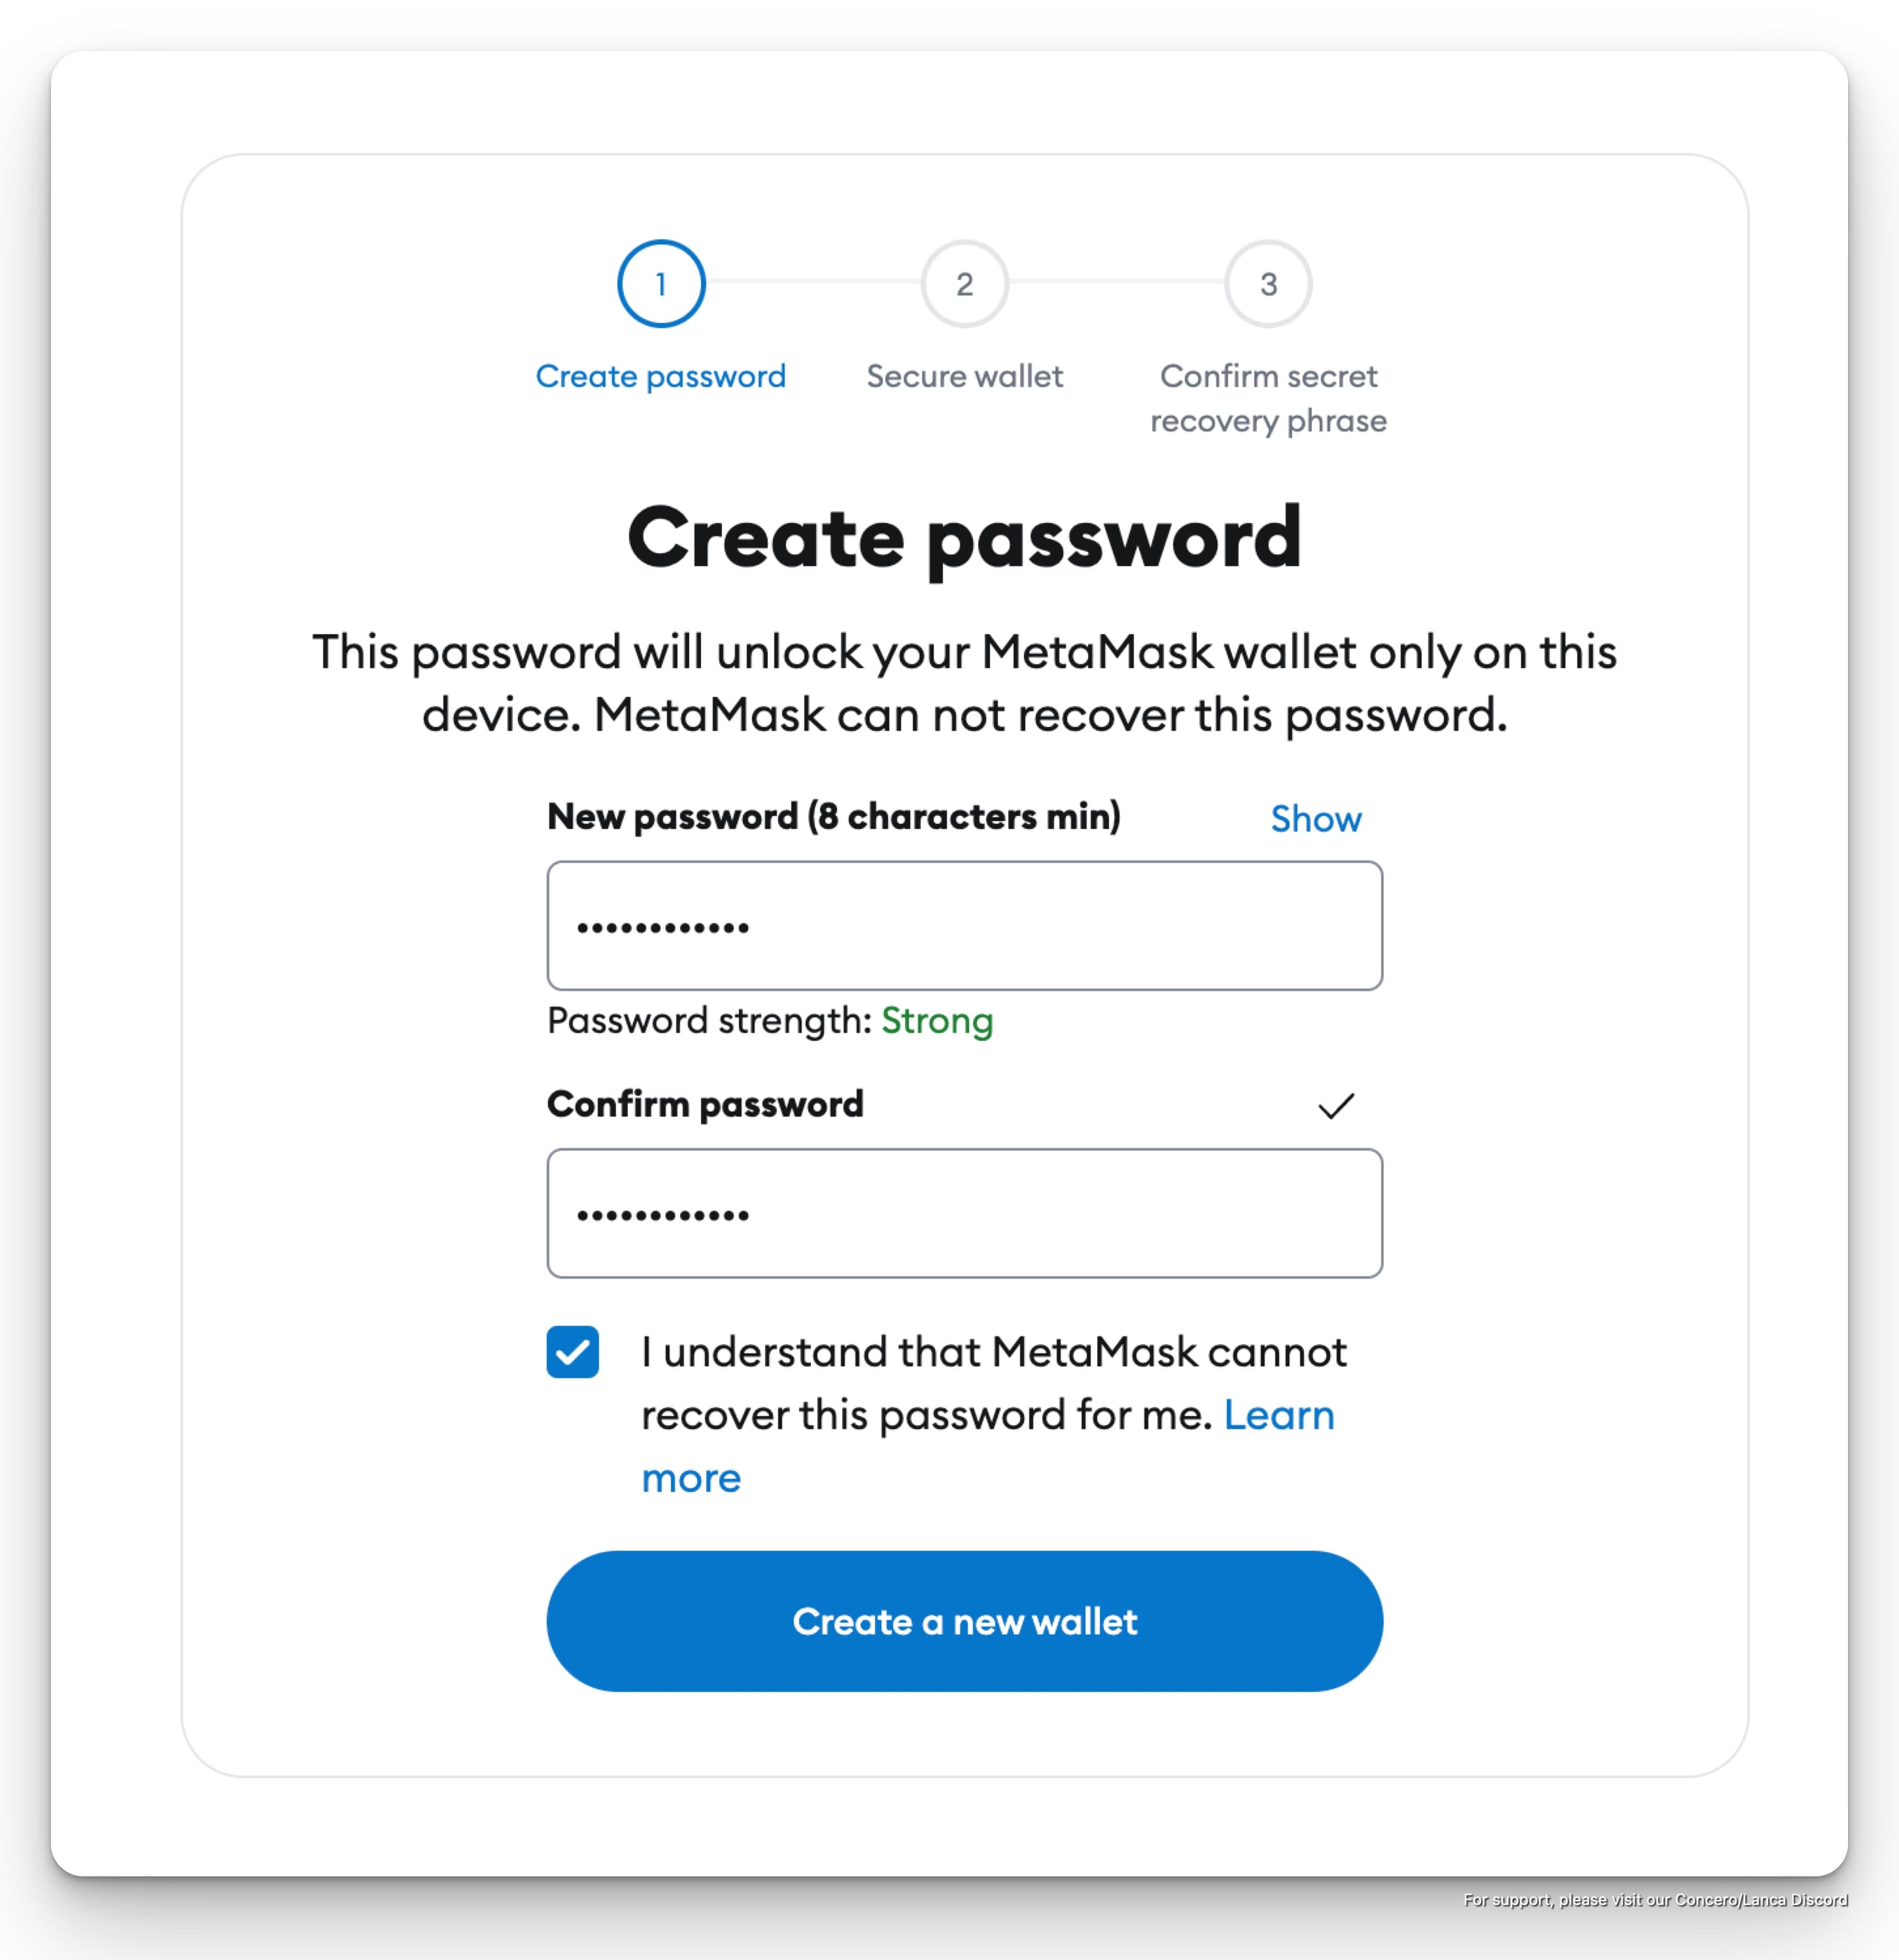
Then, Metamask will ask you to create a password for your wallet. Please create a strong password and make sure to remember it. Tick on Terms of Service and Privacy Policy. Then, click on "Create a new wallet" button.
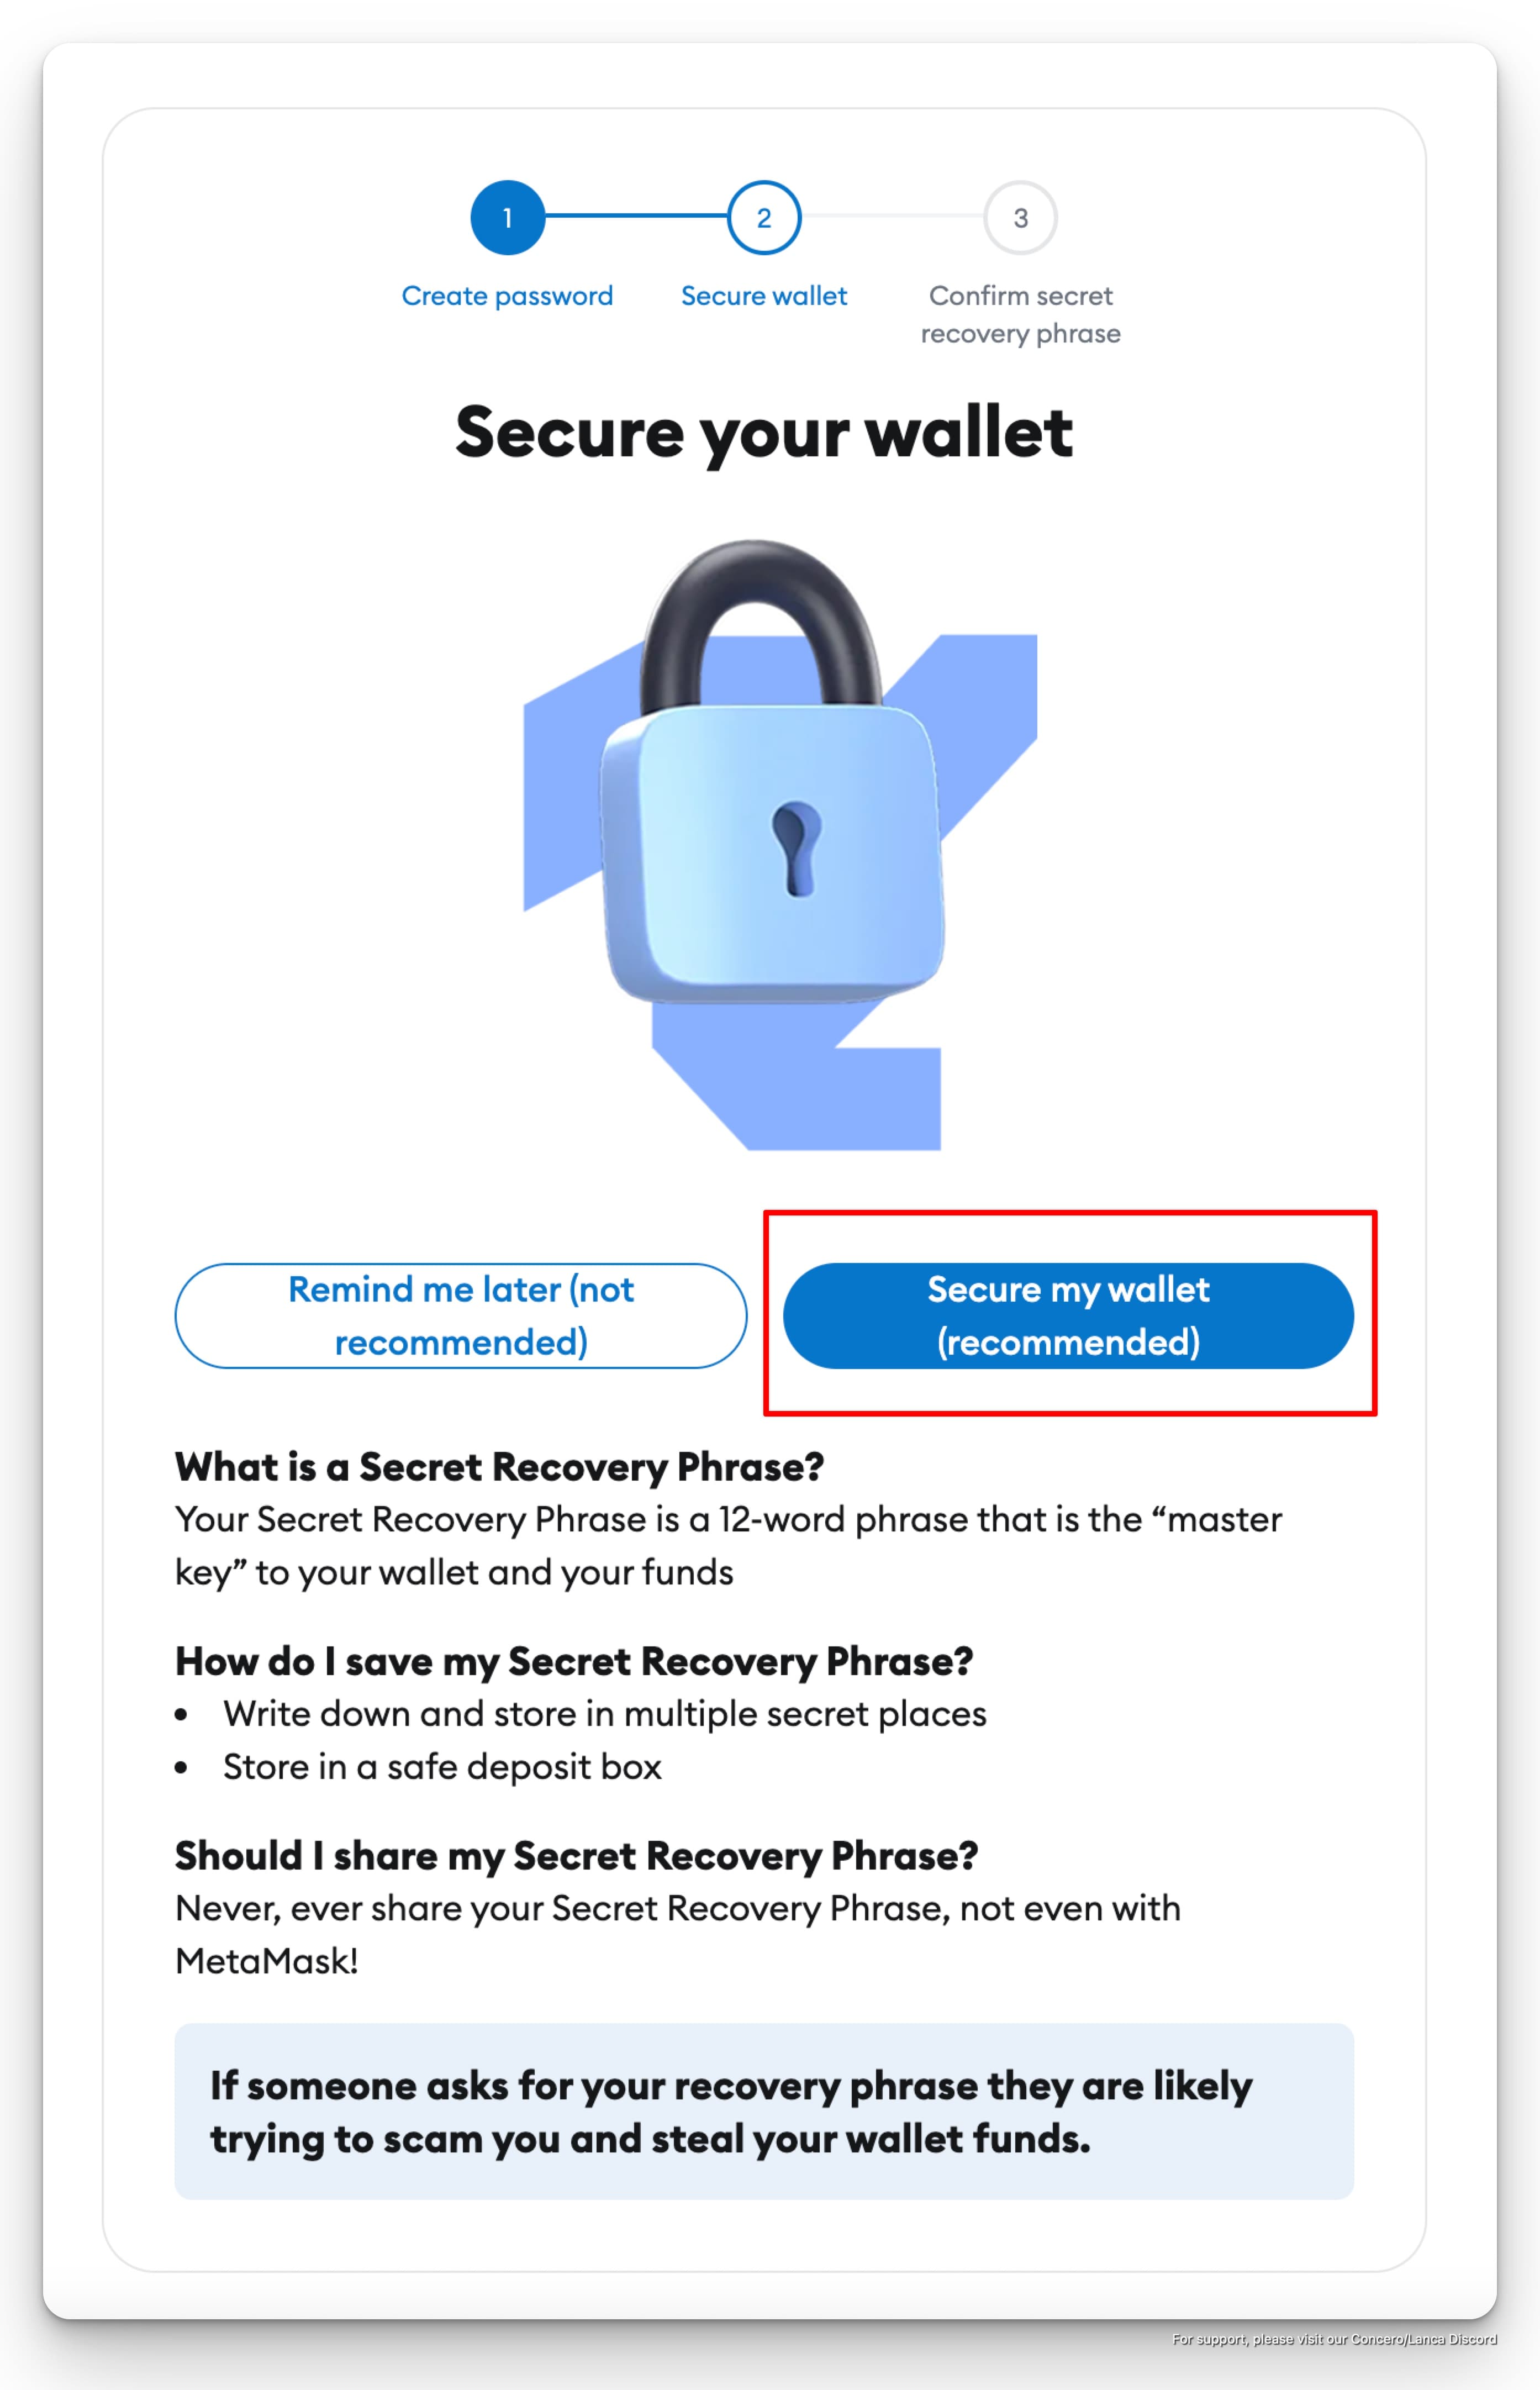
4. Secure your seed phrase.
Metamask will automatically generate a seed phrase for you. You will need it to recover your wallet if you forget your password. If you lose your seed phrase, you will lose your wallet.
Click "Secure my wallet" for next step.
Click "Reveal Secret Recovery Phrase" to see your seed phrase.
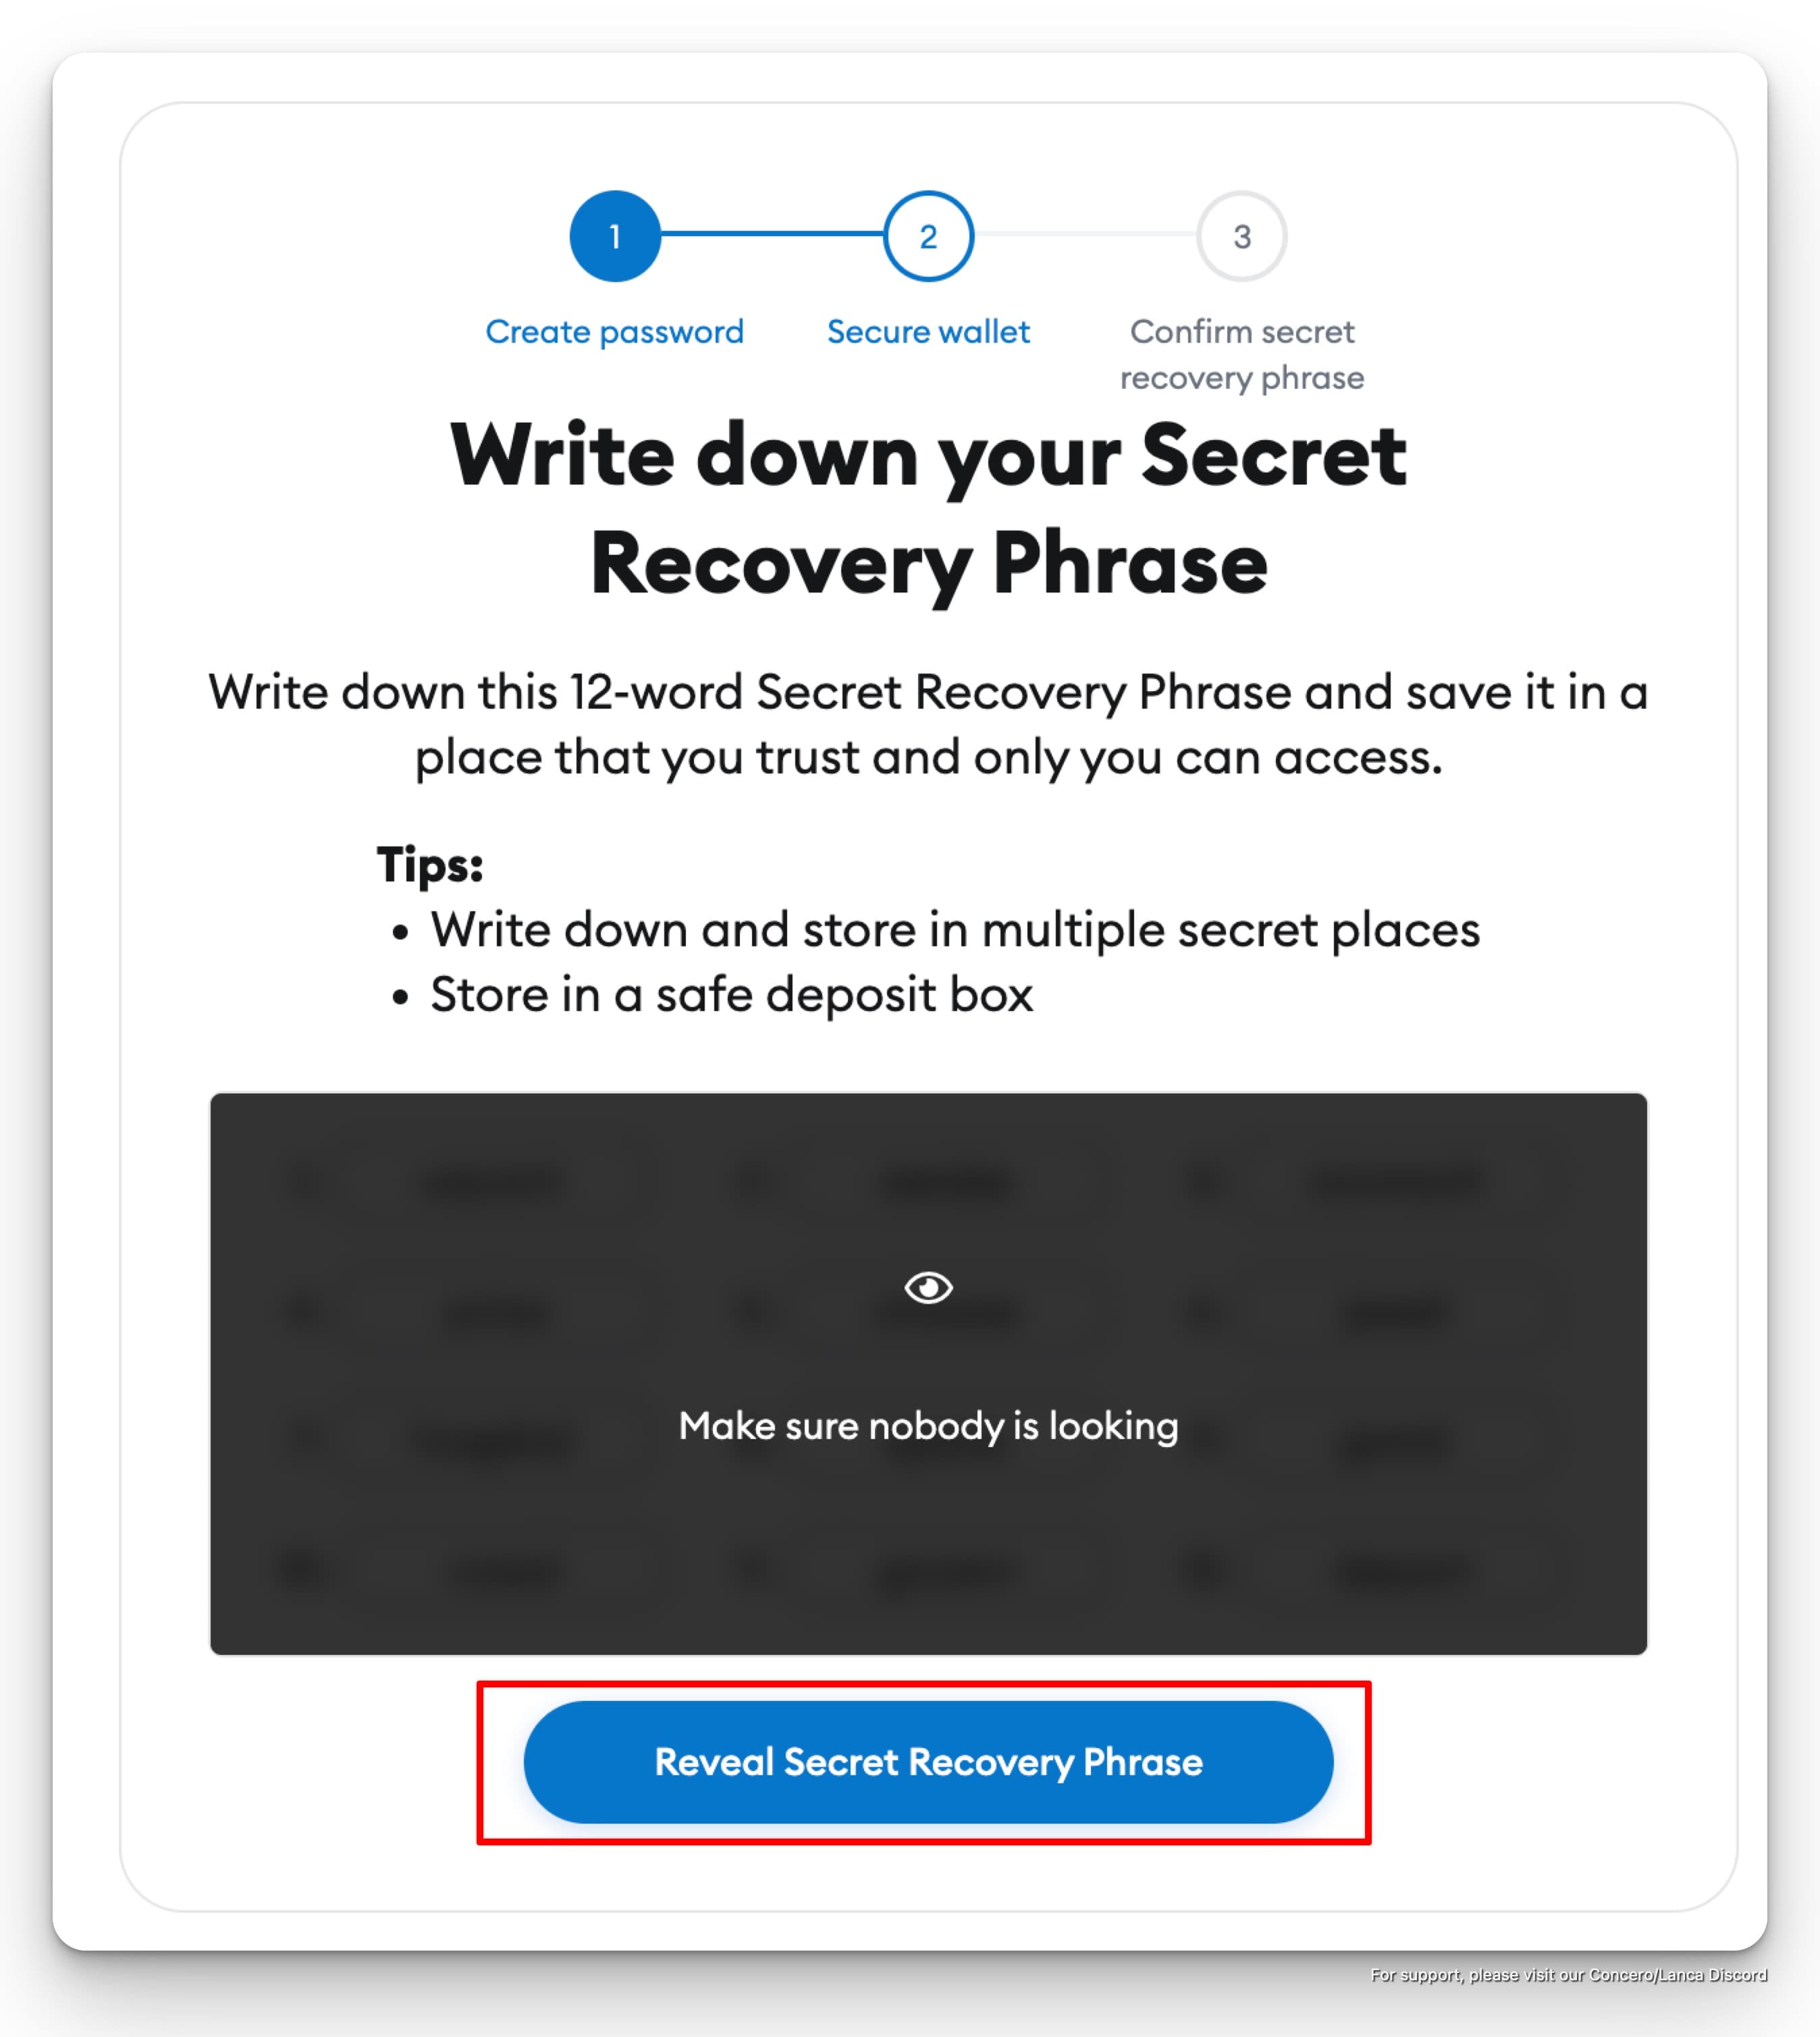
Please write down the seed phrase on a piece of paper and store it in a safe place. Remember not to share your seed phrase with anyone.
Follow the next steps prompted by Metamask to finish the setup.
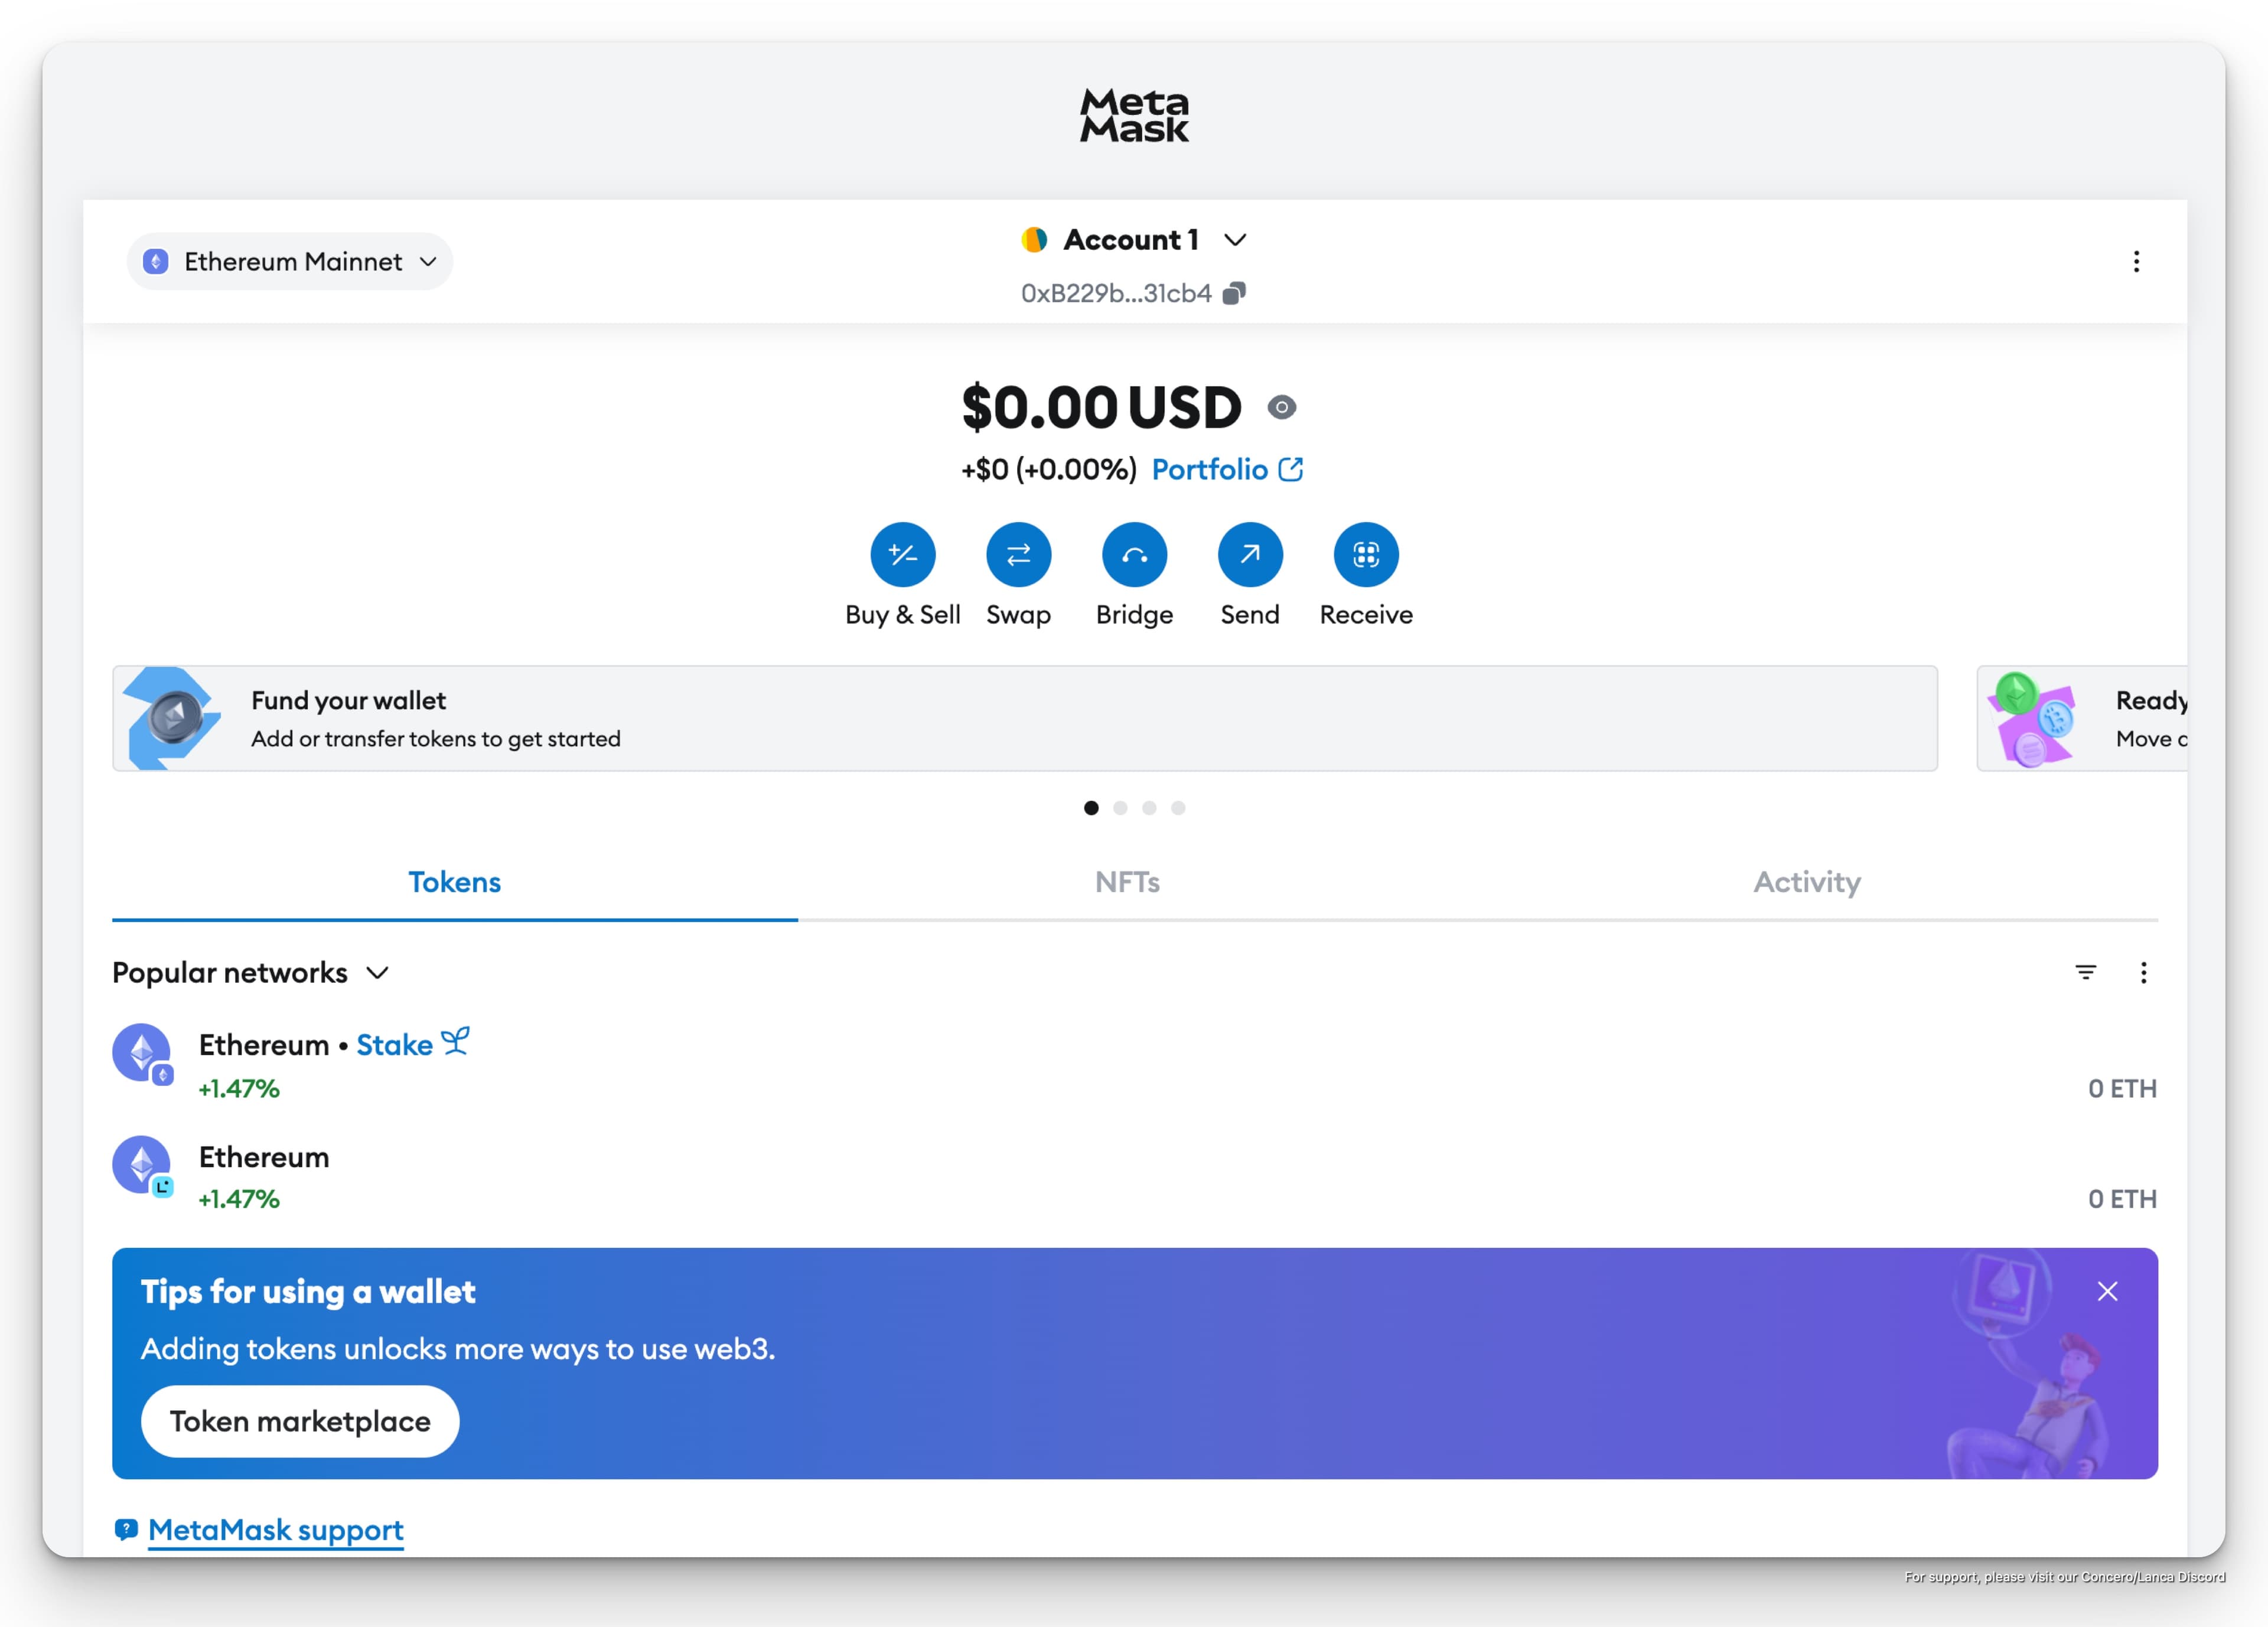
Once you finish the setup, you will see the wallet information as below.
Conclusion
Welcome to the blockchain world!
You have successfully installed Metamask and created a new wallet. Now, you can start testing Concero Public Testnet.
To be able to test Concero V2 Public Testnet, you will need to add the testnet networks to your Metamask wallet. So, head to the tutorial on how to add a custom network to your Metamask wallet for detailed instructions.
Once finished, head to the tutorial on how to test Concero V2 Public Testnet, to start your first transaction on our testnet.
🤝 Follow us for upcoming updates on Concero Socials :
Concero.io | Concero Blog | Twitter | Discord | Telegram